Dirt Removal Mastery: Eco-Friendly Cleaning & Soil Care
Dirt Removal Complete Guide: Sustainable Methods, Home Cleaning & Soil Care
Introduction
We present a single, practical resource that combines house-cleaning savvy with landscape wisdom. Whether you’re battling mud on hardwood, tackling pet stains on carpets, prepping soil for a vegetable garden, or planning large-scale soil removal for landscaping, we cover proven, ecofriendly, and cost-effective methods. We write in clear, friendly language and guide you step by step: testing soil nutrients and pH, selecting the best vacuum cleaners for deep cleaning, choosing homemade tile and grout cleaners, using baking soda cleaning uses around the home, and planning seasonal cleaning checklists. Think of this guide as a Swiss Army knife: one set of tools and techniques for both indoor dirt removal and outdoor soil preparation. Ready? Let’s dig in.
1. Understanding Dirt Removal: Definitions & Scope
We frame dirt removal as both a household hygiene task and a landscape management practice. Dirt is a mixture of soil particles, organic matter, oils, microbes, and often human-made contaminants. In homes, dirt shows up as dust, tracked-in soil, grease, and stain residues on carpets, upholstery, tile, and hardwood. Outside, dirt removal intersects with soil preparation, excavation, topsoil management, and erosion control. Because the causes vary, foot traffic, pets, construction, storms our approach must adapt. We use gentle, ecofriendly methods for living areas (natural floor cleaner DIY, baking soda cleaning uses) and robust techniques outdoors (soil testing for nutrients, erosion control methods). By thinking of dirt removal as targeted problem solving rather than blanket cleaning, we pick the minimum-impact option that solves the issue without introducing harsh chemicals. For example, we reserve heavy mechanical excavation for when soil contamination and remediation require removal, but prefer composting and soil amendments when enriching garden beds. The result: cleaner spaces, healthier soil, and lower long-term costs.
2. Types of Dirt and Dirt Removal Challenges: Organic Matter, Mud & Grease
Not every stain or soil problem is the same. Organic matter in soil like leaves, compost particles, and root fragments behaves differently from clay or silt. Mud tracked into a hallway will smear and embed in carpet fibers; grease leaves a hydrophobic residue on counters and driveways; wine and blood react chemically with fabrics. Identifying whether the problem is biological (mildew, pet urine), mineral (rust, clay), or chemical (oil, paint) guides our choice between enzymatic cleaners, acidic degreasers, or mechanical soil removal. For outdoor tasks, excess organic matter can improve soil, but in wrong places it forms a slip hazard and releases nutrients that change soil pH. For indoor cleaning, we recommend simple pre-treatments: remove solids, apply appropriate stain remover (baking soda cleaning uses shine for deodorizing, enzymatic cleaners attack pet stains), and finish with targeted cleaning (steam cleaning techniques for upholstery or a carpet shampoo). When a stain resists, we escalate spot test stronger solutions, call professional mud removal services, or consult specialist soil contamination and remediation advice for outdoor sites.
3. Landscape Soil Preparation & Dirt Removal for Projects
When we prepare a landscape, dirt removal is an early and essential step. Clearing topsoil, removing construction spoil, and grading the site determine water flow and plant success. Soil testing before landscaping tells us whether to remove contaminated patches or amend the existing soil. For sites with excess clay or compacted fill, targeted dirt removal followed by soil amendments for better growth improves drainage and aeration. We recommend staged work: first, remove large debris and unwanted spoil; second, test for contaminants and nutrients; third, either remove poor soil or blend in compost and sand depending on needs. If excavation is required, consider soil disposal options for contractors and local rules: reuse good topsoil on lower parts of the site, deliver contaminated or excess spoil to permitted dirt dumping sites, and investigate earth-friendly dumpster rentals for soil. Thoughtful dirt removal here prevents future problems standing water, erosion, and poor plant growth.
4. Preparing Soil for Vegetable Gardens: Practical Steps
A productive vegetable patch begins with preparing soil for vegetable gardens the right way. We test pH and nutrient levels, clear weeds and old roots, and decide whether to remove or reuse soil. Compost for soil enrichment is central: we incorporate finished compost to improve structure, drainage, and nutrient availability. For heavy clay, partial dirt removal followed by adding organic matter and coarse sand or gypsum can transform the bed. We prefer mulching for soil protection to reduce evaporation and suppress weeds. Planting cover crops in fall or early spring adds nitrogen and improves biological soil health indicators. If you suspect soil contamination, lead, petroleum, or other pollutants, prioritize soil contamination and remediation: isolate the bed, replace the topsoil, or use raised beds with clean imported soil. With deliberate steps, testing, removing problem patches if needed, and enriching the remainder, you’ll create a consistently productive garden.
5. Soil Testing for Nutrients and Soil pH
We can’t fix what we don’t measure. Soil testing for nutrients and soil pH and plant growth are the foundation of effective dirt management. A basic soil test tells you levels of nitrogen, phosphorus, potassium, organic matter, and pH. Those metrics direct whether to add lime to raise pH, sulfur to lower it, or compost and specific fertilizers to correct nutrient imbalances. For lawns and gardens, pH is critical: many vegetables prefer slightly acidic soil while ornamentals may do better at neutral pH. For large landscaping work, run multiple tests across the site to map variability, this informs whether a uniform soil removal or localized amendments are necessary. We recommend repeat testing after major interventions: post-compost incorporation, after lime application, or following remediation. With measured, incremental improvements, soil becomes a living resource that supports healthier plants and reduces the need for chemical inputs.
6. How to Improve Soil Quality: Amendments & Composting
Improving soil quality is cumulative. We add soil amendments for better growth, compost, well-aged manure, biochar, and mineral additives, based on test results. Composting for soil health recycles organic matter, reduces waste, and increases microbial life. A 2–3 inch layer of compost worked into the top 6–8 inches each season dramatically improves structure, drainage, and nutrient retention. For sandy soils, compost increases moisture and nutrient holding; for clay soils, it improves aggregation and porosity. Consider nitrogen-fixing plants for soil improvement, leguminous cover crops fix atmospheric nitrogen and boost fertility. Avoid overworking the soil; excessive tillage degrades structure. Instead, we favor targeted aeration and organic inputs. Regular, modest improvements are better than one large amendment; like watering a plant a little each day, the soil responds to consistent care.
7. How to Improve Soil Drainage: Techniques That Work
Poor drainage harms roots and invites pests. To improve soil drainage, we combine grading, soil amendment, and structural fixes. For small beds, raise the planting area with amended topsoil and organic matter. Adding coarse sand and compost improves percolation in clay soils; installing a French drain or curtain drain helps channel excess water away on larger sites. Use mulching for soil protection to reduce surface crusting and increase infiltration. For container gardens or raised beds, choose well-draining potting mixes. In lawn areas, core aeration improves water movement and reduces compaction. Where soil contamination requires dirt removal, removing and replacing poorly draining fill with engineered topsoil solves persistent issues. The goal is to create paths for water, either into the soil profile where plants can use it or away from sensitive areas where pooling is harmful.
8. Soil Contamination and Remediation: Assessment & Action
When contaminants lead, hydrocarbons, heavy metals are present, soil contamination and remediation is a public-health and environmental priority. First, assess the site with professional soil testing. For minor contamination, in-situ remediation (phytoremediation, soil washing, or immobilization) might be feasible. For severe contamination, dirt removal and disposal at a permitted facility may be the safest route. Before removing soil, consult local regulations and dirt disposal regulations to avoid illegal dumping. Where possible, reuse uncontaminated excavation spoil in non-sensitive landscape areas. For homeowners, creating raised beds with clean imported soil often avoids complex remediation while providing safe growing areas. We emphasize documentation: test records, disposal manifests, and remediation plans protect health and ensure compliance.
9. Soil Erosion Control Methods: Protecting Topsoil
Topsoil is where life happens; losing it is like losing savings. Soil erosion control methods include mulching, planting groundcovers, installing silt fences during construction, and building terraces on slopes. For landscapes and construction sites, temporary erosion control mats and cover crops for soil health stabilize soil while permanent vegetation establishes. Diversion swales and retention basins redirect runoff, reducing gully formation. For gardeners, maintain a permanent groundcover or mulch to reduce raindrop impact and runoff. If erosion occurs during dirt removal or site prep, act quickly reseed exposed areas, use jute or coir mats, and slow water with temporary check dams. Erosion prevention preserves soil quality, reduces sediment in waterways, and cuts long-term repair costs.
10. Best Soil Preparation Methods: Tilling vs. No-Till
Tilling loosens compacted soil and incorporates amendments, but excessive tillage disrupts fungal networks and accelerates organic matter loss. Tilling vs. notill gardening depends on goals. For new beds with compacted fill, initial tilling may be necessary, followed by mulch and minimal disturbance. For established beds, no-till with layered organic matter (sheet mulching) builds soil structure while preserving biology. No-till reduces erosion and maintains soil carbon. When prepping large landscaping areas, mechanical soil removal and grading may be necessary before adopting no-till maintenance. We recommend a hybrid approach: minimal initial turning where needed, then transition to no-till practices to protect long-term soil health.
11. Techniques for Soil Aeration and Soil Structure
Soil compaction reduces root growth and water infiltration. Techniques for soil aeration include mechanical core aeration for lawns, vertical mulching for tree rooting zones, and hand-forking vegetable beds. For heavy soils, add organic matter and coarse amendments to improve structure. Deep-rooted cover crops and tilling vs. notill decisions influence long-term porosity; usually, we avoid frequent shallow tilling and focus on biological aeration: roots, earthworms, and organic inputs. For small flower beds, spike aerators and compost tea infusions can encourage microbial life and re-structure aggregates. Aerated soils resist erosion and support healthier plants with less watering.
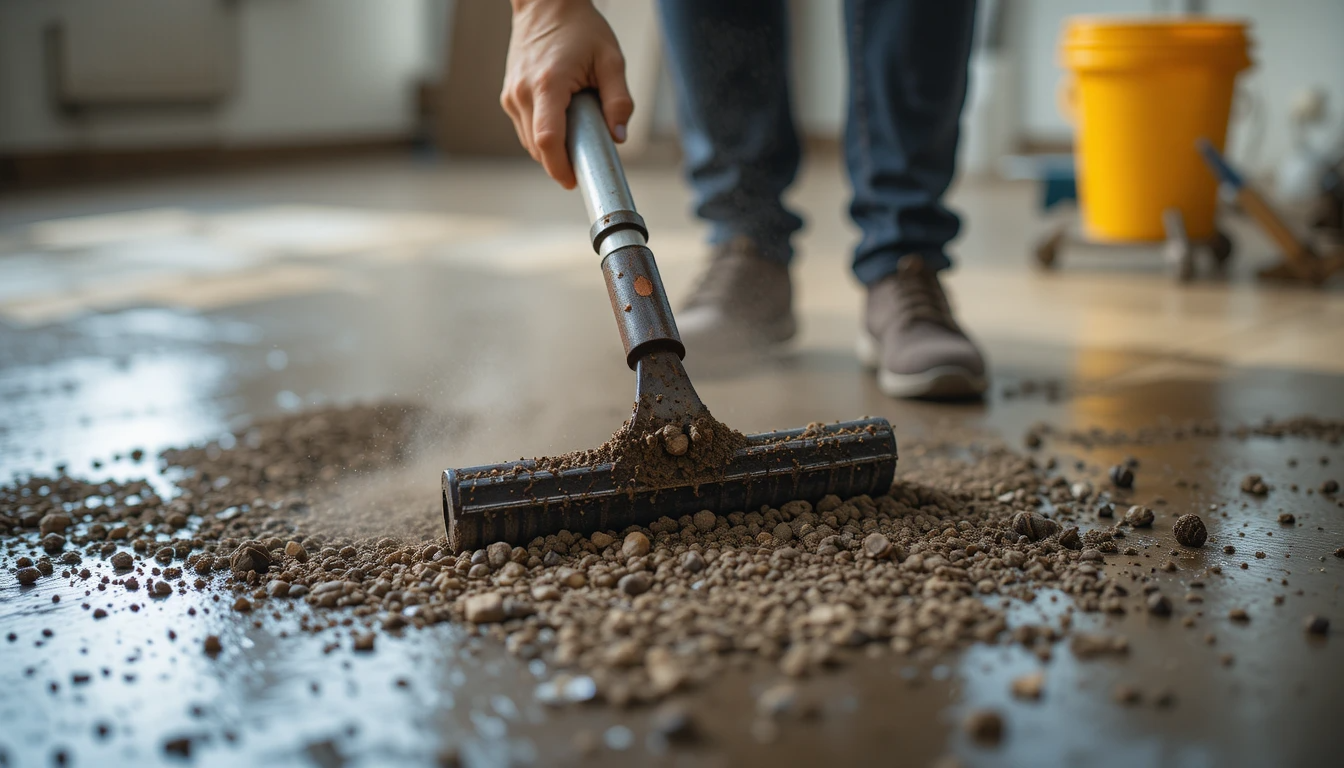
12. Tools for Dirt Removal and Soil Excavation
From hand trowels to backhoes, the right equipment transforms work quality. Best dirt removal tools for homeowners include shovels, wheelbarrows, garden forks, and manual tampers. For bigger jobs, consider compact excavators, skid-steer loaders, or rented trenches. Portable dirt removal solutions like sod cutters and mini-skid steers are ideal where heavy machinery can’t access the site. For precision, add attachments: augers for holes, grading boxes for fines, and buckets with teeth for compacted soil. For indoor dirt removal, carpets and upholstery, choose proper vacuums (see section 31). We always consider ergonomics and safety, lift with legs, avoid overloading wheelbarrows, and wear protective gear. Correct tools reduce time, protect soil structure when needed, and keep clean up efficient.
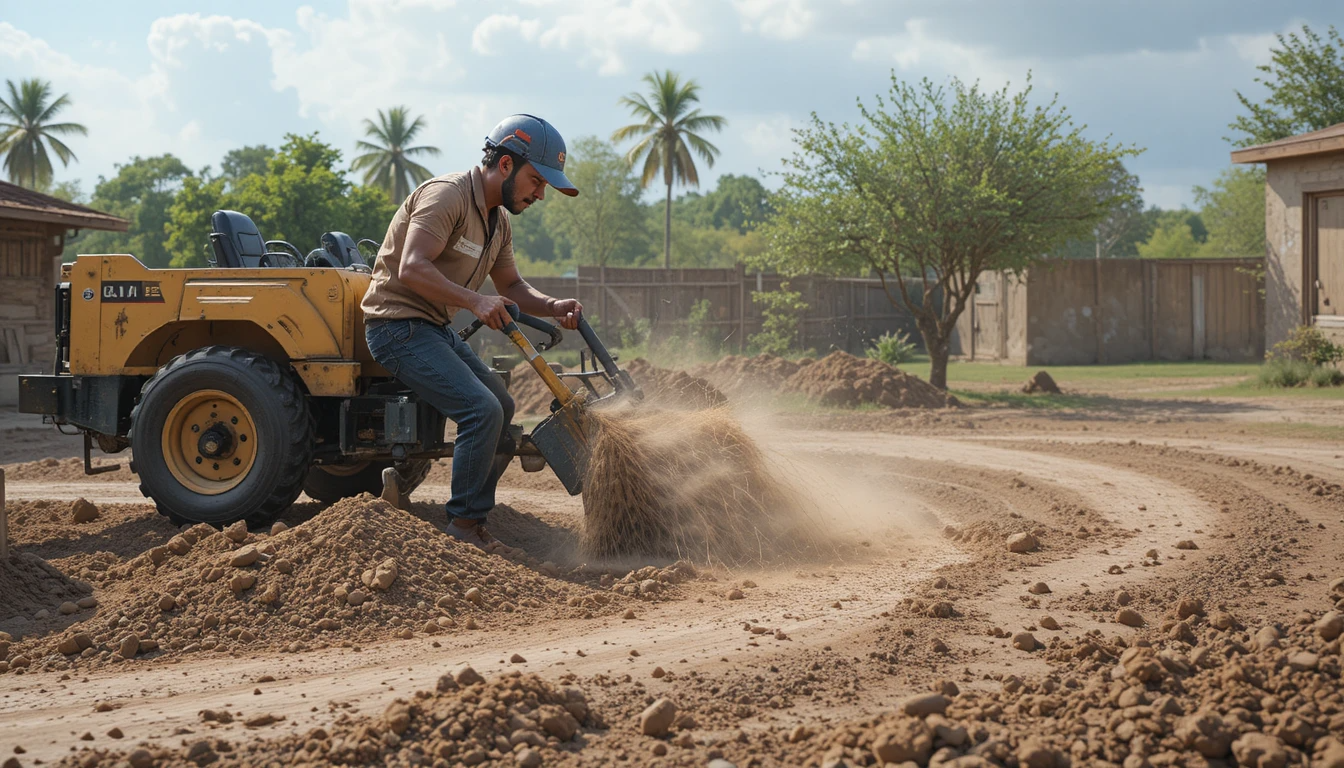
13. Heavy Equipment for Dirt Removal: When to Hire It
Large landscaping projects or remediation often require heavy equipment. Heavy equipment for dirt removal, excavators, bulldozers, loaders, move mass quantities safely and quickly. We recommend hiring when the volume, depth, or compaction exceeds simple manual or small-rental solutions. Before you rent or hire, map utilities, secure permits for dump trucks or soil disposal, and plan access for machinery to minimize turf and landscape damage. Consider costs: machine rental, operator fees, transport, and disposal. Sometimes a local earth-friendly dumpster rental for soil is both cheaper and simpler for spoil disposal. For urban gardens, compact equipment and portable dirt removal solutions minimize disturbance and cost.
14. Cost-Effective Dirt Removal Options for Homeowners
We balance expense and outcome when considering costeffective dirt removal options. For small lawn projects, reuse topsoil on other beds; for moderate excavation, rent a mini-excavator rather than hire a full crew. For homeowners, wheelbarrows and shared community rentals are often the cheapest route. Avoid hauling good topsoil to landfill look for soil donation programs or reuse on-site. Compare disposal options: local soil recycling centers may accept clean fill for a fee or sometimes for free. When contamination is suspected, obtain quotes for professional remediation and weigh against the cost of raised beds with imported soil. Thoughtful planning, measuring volumes, checking local soil disposal services, and seeking community exchange programs, turns what looks like an expensive job into a manageable one.
15. Eco-Friendly Dirt Disposal & Landscaping Dirt Recycling
When removing soil, think circular: composting dirt and organic matter, soil recycling centers, and landscaping dirt recycling reduce landfill loads and preserve resources. Clean excavation spoil can be screened and reused in berms, backfill, or non-edible planting areas. Many communities operate green waste recycling programs that accept yard waste and convert it into compost or mulch. For contaminated soil, specialized recycling or remediation facilities exist, but always follow dirt disposal regulations. We encourage contractors and homeowners to seek soil donation programs, community gardens often need clean topsoil. By treating dirt as recyclable material, we lower environmental impact and get value from what was once waste.
16. Soil Disposal Regulations and Local Services
Soil disposal regulations vary by municipality. Before transporting excavated soil, check permitted dumping sites and whether your fill is classified as clean, recyclable, or hazardous. Many areas restrict dumping on vacant lots or council property. We advise contacting local waste management or environmental departments to find local soil disposal services and permitted dirt dumping sites. For contractors, maintaining manifests and disposal receipts protects you in case of disputes. If you’re unsure about contamination, perform a basic screening analysis: if industrial odors, discoloration, or suspicious materials are present, treat the soil as potentially contaminated and seek professional remediation advice.
17. Reusing Excavated Soil: Smart Landscaping Uses
Instead of hauling all excavated soil away, examine opportunities to reuse excavation spoil on-site. Use screened soil to build berms, raise low spots, create backfill for retaining walls, or to form natural seating areas. When the spoil is poor, blend it with compost and amendments to create usable planting soil. Recycling soil for landscaping cuts disposal costs and preserves resources. When reusing, avoid placing potentially contaminated spoil near edible gardens. For larger projects, coordinate with neighbors or community gardens that may accept clean fill. With a little creativity, what was once a removal task becomes a design asset.
18. Seasonal Dirt Removal Strategies: Winter to Spring
Winter dirt removal strategies include protecting entryways with mats, removing salt residues that harm hardwood (and contribute to chemical dirt), and clearing outdoor furniture. In spring, focus on how to tackle mud removal in spring: deep-clean carpets and area rugs, wash outdoor fabrics, and clean up autumn leaves and winter grit from patios. We provide a seasonal deep cleaning checklist: vacuuming, steam cleaning upholstery, checking HVAC filters, and testing soil for spring amendments. For gardens, spring is the time to inspect drainage, aerate compacted lawns, and prepare beds for planting. The right seasonal rhythm reduces long-term buildup and makes ongoing maintenance easier.
19. Preparing Your Yard for Fall: Dirt & Debris Tips
Preparing your yard for fall means raking leaves (compost them rather than bagging), cleaning gutters to prevent soil and debris backups, and storing patio furniture to avoid trapped dirt and moisture. For lawns, overseed bare spots and add a thin compost topdress to protect soil through winter. Remove or compost invasive plant parts and consider planting cover crops for soil health to reduce erosion and nutrient loss. Early fall is the perfect moment to plan larger dirt removal or excavation projects for the following spring when access improves and disturbance to root systems is minimized.
20. Post-Construction Dirt Removal and Renovation Cleanup
After renovations, dust, cement fines, paint splatter, and compacted soil are common. Removing construction dirt after renovations begins with mechanical removal: sweep and vacuum to remove loose particles, then apply targeted cleaners for stains, homemade degreasers for adhesive residues, appropriate tile cleaners for grout haze, and specialized hardwood floor treatments for tracked-in mud. For outside work, clear compacted spoil, screen topsoil, and decide what to keep. Contractors should provide disposal manifests; homeowners should demand clear-up plans in contracts. Timely post-construction cleanup prevents long-term abrasions to finishes and reduces allergen loads in the home.
21. Best Practices for Dust and Dirt Removal in High-Traffic Areas
In corridors, entryways, and commercial spaces, how to maintain cleanliness in hightraffic areas blends routine with durable choices. Use walk-off mats to trap grit, schedule frequent vacuuming with best vacuum cleaners for deep cleaning, and choose durable floor finishes that resist dirt penetration. For upholstery and chairs, rotate cushions and use protective covers. For busy households with pets and kids, create a cleaning routine: daily spot sweeps, weekly deep vacuuming, and monthly steam cleaning. Pay attention to tips for removing dirt from children’s toys, washable bins, routine sanitization with gentle disinfectant sprays, and spot cleaning for fabric toys. Consistency keeps high-traffic dirt from becoming permanent damage.
22. Carpet Dirt Removal: Pet Stains, Mud, Wine & Grease
Carpets collect everything from tracked-in mud to pet urine and wine. For how to remove pet stains from carpets and how to remove pet stains from carpet, we recommend an enzyme cleaner for biological stains, blotting rather than rubbing, and finishing with a neutralizing rinse. For mud, let it dry and vacuum before treating residual marks. Wine requires blotting and a gentle detergent or specialized wine stain remover. For grease stains, apply a degreasing powder (or baking soda cleaning uses) to absorb oil before vacuuming and treating with a mild solvent if necessary. For stubborn cases, the stepbystep carpet cleaning guide vacuum, pre-treat, agitate, extract, works reliably. When removal is tough, consider professional steam cleaning or spot-specific remediation.
23. DIY Carpet Cleaner Recipes & Steam Cleaning Techniques
We favor diy carpet cleaner recipes that are gentle yet effective. A common safe mix is liquid dish soap (a few drops) with warm water and a dash of white vinegar for deodorizing, test on a hidden patch first. For enzymatic pet stain cleaner DIY, combine expectorant enzymes (from pet-safe enzyme products) with water and follow package ratios. Steam cleaning techniques for upholstery include low-moisture settings for delicate fabrics and full extraction for dense carpets. Always pre-treat heavily soiled spots and allow adequate drying to avoid mold. For ecofriendly carpet cleaner solutions, baking soda cleaning uses are helpful: sprinkle, wait, vacuum then follow with spot cleaning. With correct dilution and technique, DIY methods perform well and reduce exposure to harsh chemicals.
24. Upholstery and Rug Dirt Removal: Area Rugs & Upholstery
How to clean area rugs and upholstered furniture depends on fiber type. The natural fibers, gentle vacuuming, and spot cleaning with minimal moisture prevents shrinkage. Stain removal, we use the fiber’s code (W, S, SW, or X) as a guide: W allows water-based cleaners; S needs solvent cleaners. For delicate antique rugs, professional mud removal services or rug specialists are often worth the cost. For upholstery, pre-vacuum seams and use steam cleaning only if fabric codes permit. Our stepwise approach: identify fabric, remove solids, pre-treat stains with appropriate solutions (enzymatic cleaners for pet stains; vinegar/detergent blends for general dirt), and air-dry thoroughly. Rotating rugs and using protective pads prolongs life and reduces future deep cleaning needs.
25. Tile, Grout & Hard Surface Cleaning: Homemade Solutions
Effective methods for tile and grout cleaning combine mechanical agitation with safe chemistry. Homemade tile and grout cleaner options include baking soda paste plus vinegar rinse for grout lines, or a diluted hydrogen peroxide solution for tough mildew (test first). For grease on tile floors and counters, a citrus-based cleaning solution or homemade kitchen degreaser recipes (vinegar + dish soap + warm water) cut through film. The large areas, scrub with a stiff brush and extract rinse with a wet vacuum. For grout restoration, consider grout dyeing or re-pointing if cleaning won’t restore color. Regular sealing of grout reduces dirt penetration and makes future cleaning far easier.
26. Hardwood Floor Cleaning: Best Products & Mud Removal
Hardwood needs gentle care. For best products for hardwood floor cleaning, select pH-neutral cleaners or manufacturer-recommended formulas. When tracking in mud, remove solids, gently lift remaining soiling with a damp (not wet) microfiber mop, and dry quickly. Avoid steam cleaners on unfinished or older floors as steam can raise wood grain and damage coatings. For removal of tracked-in grime and pet accidents, use a targeted enzymatic cleaner and follow with a specialized homemade wood furniture polish recipe for shine and protection. Frequent sweeping prevents abrasive grit from wearing the finish. For severe dirt embedding, consider a professional cleaning and refinishing rather than aggressive home methods that may harm the finish.
27. Natural and Eco-Friendly Cleaners: DIY Recipes & Ingredients
We promote environmentally safe cleaning products for home that use everyday ingredients. Homemade allpurpose cleaner recipes often blend vinegar, water, and essential oils for scent; however, avoid vinegar on natural stone. Homemade kitchen degreaser recipes can combine baking soda with liquid soap and warm water. For glass, a DIY glass cleaner that streaks free uses diluted isopropyl alcohol and water with a drop of dish soap (test frames). Baking soda cleaning uses include deodorizing carpets and toilets; simple vinegar cleaning hacks remove limescale. We also recommend natural stain remover ingredients like oxygen bleach (sodium percarbonate) for color-safe lifting. These natural options reduce indoor chemical exposure and align with ecofriendly carpet cleaner solutions when used appropriately.
28. Stain Removal Masterclass: Ink, Blood, Wine, Coffee & Rust
Tough spots require tailored remedies. For removing blood stains from fabric, soak in cold water and use an enzyme or hydrogen peroxide for fresh stains (test colorfastness). For ink, blot solvents or alcohol may lift pigment; for coffee and tea, a mix of detergent and warm water often works. Best methods for wine stain removal include blotting, salt to absorb, and a gentle enzyme cleaner. Stepbystep process for removing rust stains typically uses oxalic acid–based cleaners or lemon plus salt on washable items. For grease, apply baking soda or an absorption powder, then degrease. Always test a hidden area, act fast, and avoid heat (which sets many stains). If a stain resists, escalating to professional cleaning often saves fabric rather than repeated home treatments that worsen the problem.
29. Pet-Friendly, Non-Toxic Cleaning Techniques
We prioritize safe dirt removal techniques for pet owners that avoid toxicity. Use enzyme-based pet stain cleaners, natural pet stain cleaner recipes (enzyme-based sold products are best for urine), and avoid ammonia or bleach around animals. Nontoxic laundry stain removers, oxygen bleach solutions, work well on pet bedding. For air quality, favor homemade air fresheners with natural scents such as baking soda and essential oils for mild scenting, but be mindful of essential oil sensitivities in pets. Clean toys with warm soapy water and rinse well tips for removing dirt from childrens toys apply to pet toys too. With pet-aware routines, we maintain cleanliness without risking animal health.
30. Ecosafe Cleaning Products & Allergen-Free Supplies
For allergy sufferers, choose allergenfree cleaning supplies products designed to minimize dust, pet dander, and mold. HEPA vacuums and fragrance-free detergents reduce triggers. Ecofriendly spray disinfectants using hydrogen peroxide or stabilized oxygen are effective without heavy fumes. For surfaces, microfiber captures particles better than traditional cloths. For upholstery and carpets, consider professional cleaning with low-moisture methods to reduce mold risk. When selecting products, look for non-toxic, biodegradable ingredients and avoid VOC-heavy options that can worsen indoor air quality.
31. Vacuuming & Robotic Dirt Removal: Best Machines for Deep Clean
A great vacuum reduces cleaning time drastically. Best vacuum cleaners for deep cleaning offer powerful suction, HEPA filtration, and specialized attachments for pet hair. For hard floors, choose models with adjustable brush rolls to avoid scattering grit. Robotic dirt removal technology now includes models that map rooms, avoid obstacles, and deliver scheduled maintenance, ideal for high-traffic daily upkeep. For deep cleaning, pairing a high-efficiency upright or canister vacuum with periodic professional steam cleanings ensures removal of deeply embedded dirt. We recommend matching your machine to tasks, lightweight for apartments, robust commercial units for heavy use, and maintaining filters and brushes for peak performance.
32. Innovations in Dirt Removal Technology & Professional Machines
From battery-powered compact excavators to hot-water extraction carpet machines, innovations in dirt removal technology enhance speed and effectiveness. Professional-grade steam cleaners now use less water and extract more, reducing drying time and lowering mold risk. Robotic scrubbers and pressure washers for outdoor surfaces cut labor and water use compared with manual scrubbing. Soil remediation technologies, soil washing, thermal desorption, and bioremediation, offer alternatives to wholesale removal for contaminated sites. For homeowners wanting efficient options, look for toprated dirt removal gadgets for DIY projects like wet/dry shop vacs, portable power scrubbers, and compact surface cleaners. Technology speeds work, but choosing the right machine and operator remains critical.
33. Soil Health & Sustainable Landscaping Practices
Sustainable landscaping practices include preserving topsoil, using native plants, and minimizing chemical inputs. Soil health importance in landscaping cannot be overstated: healthy soil reduces watering needs, is more disease resistant, and supports biodiversity. For new installations, minimize disturbance during dirt removal, keep root zones intact, and integrate mulching techniques to improve soil. Consider native groundcovers and using cover crops for soil health in less ornamental areas. Over time, these practices reduce maintenance and create landscapes that fit local climate and soil conditions, essential in sustainable agriculture and modern garden design.
34. Composting, Mulching & Cover Crops for Soil Enrichment
Compost and mulch are the backbone of healthy soil. Composting for soil health converts yard waste and kitchen scraps into rich organic matter; applying compost increases microbial life and nutrient cycling. Mulching for soil protection reduces water loss, suppresses weeds, and moderates soil temperature. Using cover crops for soil health, clover, vetch, mustard, adds organic matter, prevents erosion, and fixes nitrogen. Seasonal rotations of cover crops and compost applications maintain long-term fertility and reduce reliance on synthetic fertilizers. Think of composting like feeding the soil’s microbiome: regular, quality inputs keep the system balanced.
35. Final Checklist: Seasonal Deep Cleaning & Dirt Removal Plan
Our seasonal deep cleaning checklist ties everything together: spring carpet steam cleaning, summer outdoor power washing, fall leaf management and soil preparation for overwintering, and winter protection for high-traffic entryways. Include tasks like soil testing, aeration, compost application, grout sealing, hardwood floor inspection, vacuum filter replacement, and inspection of waste disposal plans if a dirt removal or excavation is planned. Keep a log of products that work (note environmentally safe cleaning products for home), and store contact information for local soil recycling centers near me or trusted local soil disposal services. By following a seasonal plan, we minimize last-minute crises and keep both home interiors and landscapes performing at their best.
Conclusion
We have provided a comprehensive, practical roadmap for both household cleaning and landscape soil management. We emphasize measurement (soil testing), targeted interventions (match cleaner to stain), sustainability (composting and reuse), and seasonal maintenance. Treat dirt as either a resource to reuse or a symptom to remove safely. With the right tools, ecofriendly products, and a consistent schedule, dirt removal becomes a manageable part of maintaining healthy homes and thriving landscapes.
FAQs
Q1: How quickly should we treat fresh pet stains on carpets to maximize removal success?
We recommend acting immediately: blot solids, apply an enzyme cleaner, and avoid heat. The quicker you treat a stain, the less likely it will set.
Q2: Are homemade cleaners as effective as commercial products for grout and tile cleaning?
Yes, many homemade tile and grout cleaner recipes (baking soda paste, vinegar rinses, oxygen bleach) work well. For heavy mildew or deeply set stains, professional products or services may be necessary.
Q3: When is soil removal necessary versus in-place remediation?
Soil removal is necessary when tests show high concentrations of hazardous contaminants that cannot be safely immobilized. For mild pollution, in-situ remediation or containment may suffice.
Q4: What vacuum features matter most for deep dirt removal?
Strong suction, HEPA filtration, motorized brush heads for carpets, and proper attachments for crevices and upholstery are key. Regular maintenance of filters and brushes keeps performance high.
Q5: Can composted excavated soil be safely reused in vegetable gardens?
Only if lab testing confirms it’s free of contaminants. Otherwise, use composted material in ornamental areas or subject it to certified remediation before using in edible gardens.
Trusted Junk Removal Services in Dubai for Homes & Businesses
In Dubai?
Address: Office No.101, 10th Floor, Al-Shafar Tower, Business Bay, Dubai.
Google Map Location
Read More: Garden Waste Removal Dubai: Eco-Friendly Solutions